
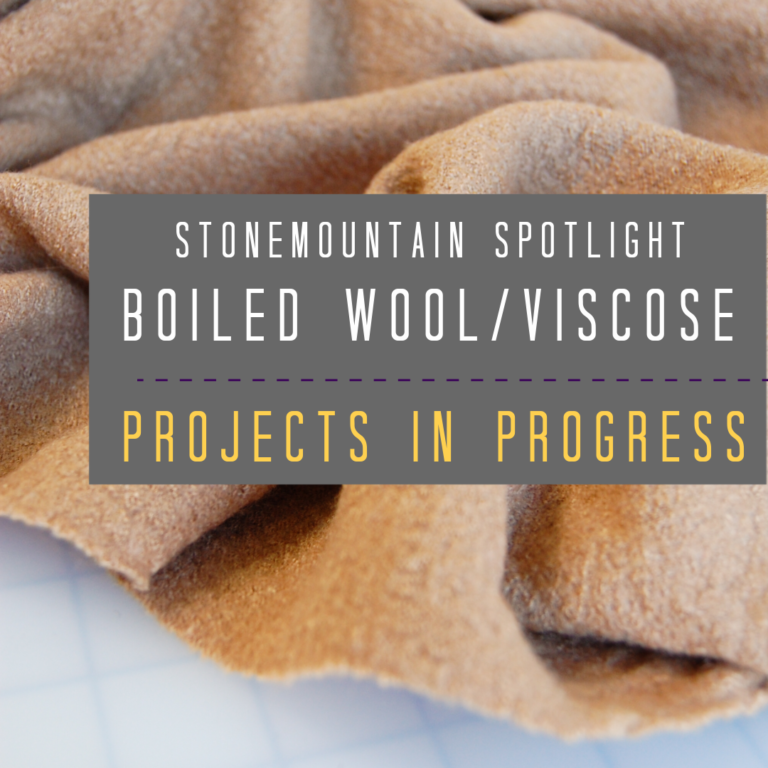
Welcome back to the Stonemountain Spotlight! As you may recall, last week we challenged our staff to create garments out of one of our favorite autumn/winter fabrics, Boiled Wool/Viscose. This week, we’re taking a look at the team’s progress as they work on their garments– we’re watching them build on their initial design inspiration and hearing about all the techniques and tools they have been using as they work on their projects. We hope you’ll join us in making something out of Boiled Wool/Viscose this month!
November 1st through Thursday November 26th
save 15% off on boiled wool/viscose using code SPOTLIGHT15
Valid while supplies last. Discounts may not be combined or applied retroactively.
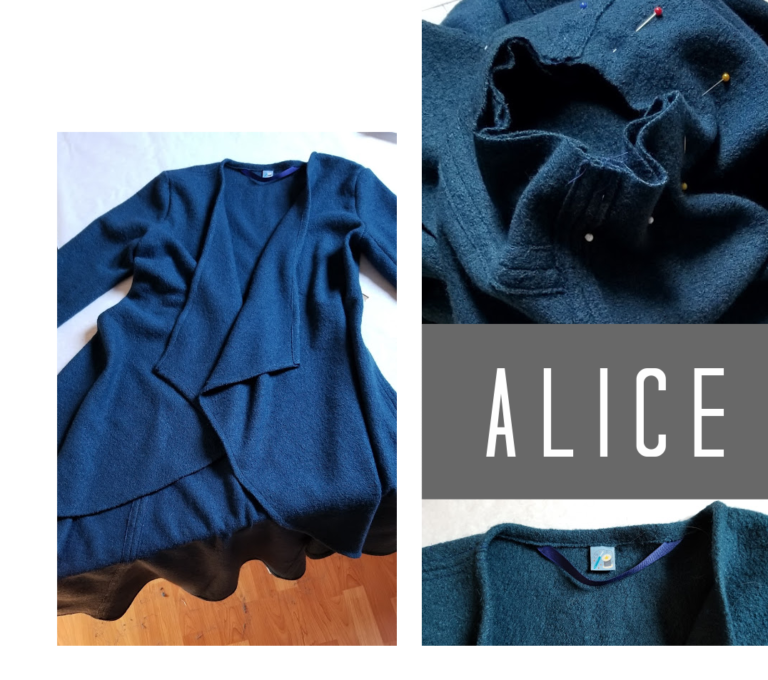
Alice has been working on the Style Sew Me Madison Cardigan. We love the look of this pattern in Dark Peacock wool/viscose, and Alice’s additions of a hanging loop and one of the Stitch Collective x Stonemountain & Daughter Fabrics labels to personalize her cardigan.
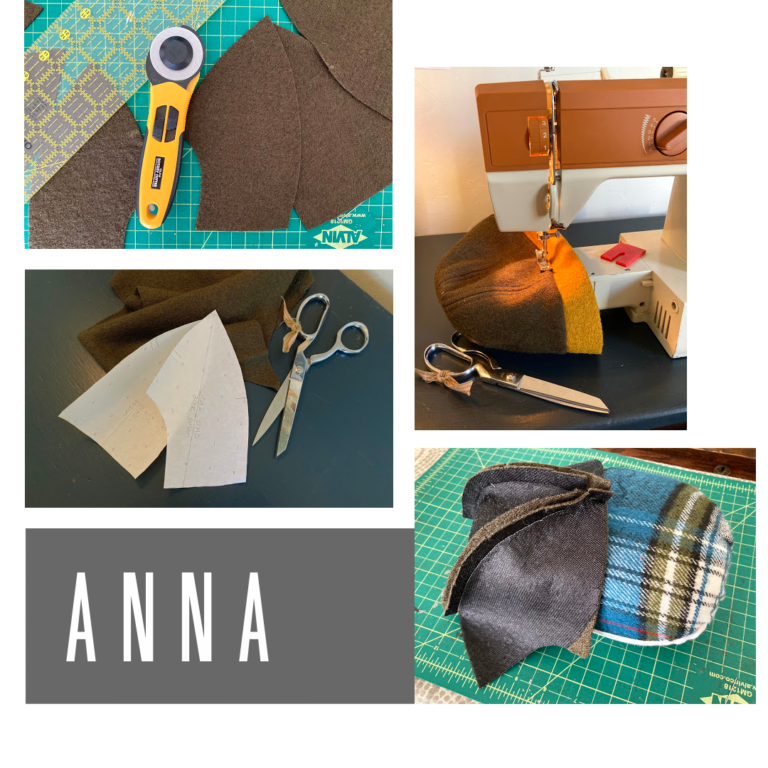
Anna has been working on a 6-panel hat this week: “I’ve made it in cotton before, but never in wool. I increased my seam allowances on my pattern to 1/2 inch to compensate for the bulkier fabric. I also tested 2 different fusible interfacings; the Bosal fusible tricot, and the Bosal weft insertion. I’m going to use the fusible tricot for the final hat. A tool that was really helpful was my tailor’s ham! Perfect for ironing all the curves.” Anna’s hat pattern will be available through our website at the end of the month!

Ashlee has been working on Sew Liberated’s Lichen Duster in Dark Heathered Grey, and added some delightful details: one of our labels and some bias tape she made with Joyful Floral Cotton Poplin and a 3/4-inch bias tape maker.

Catherine on her Ottoline: “The drape of this fabric is beautiful, but I want to make a more structured jacket so I block fused all the pieces with Presto interfacing. This gives the fabric a nice amount of structure without making it too stiff or heavy. One downside is that the interfacing doesn’t look as nice, so I’m adding a simple lining. I think this Crawford Gingham fabric will be really cute!”
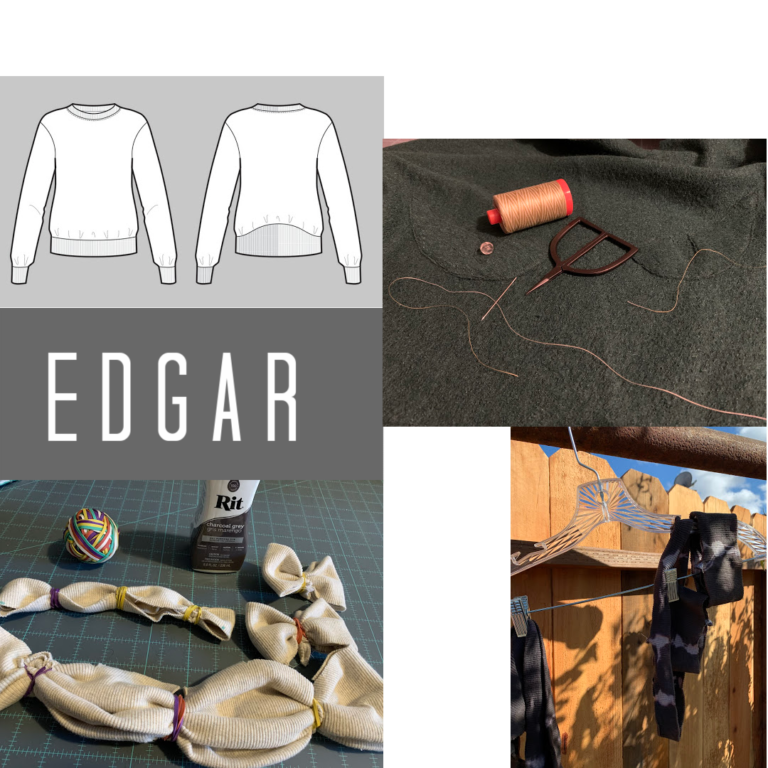
The Assembly Line High Cuff Sweater cuffs really make the garment, and it looks like Edgar has been busy using Rit dye to add color and pattern to his bamboo/cotton rib knit cuffs. Edgar always picks the best finishing touches for his garments, so we can’t wait to see how it all comes together!
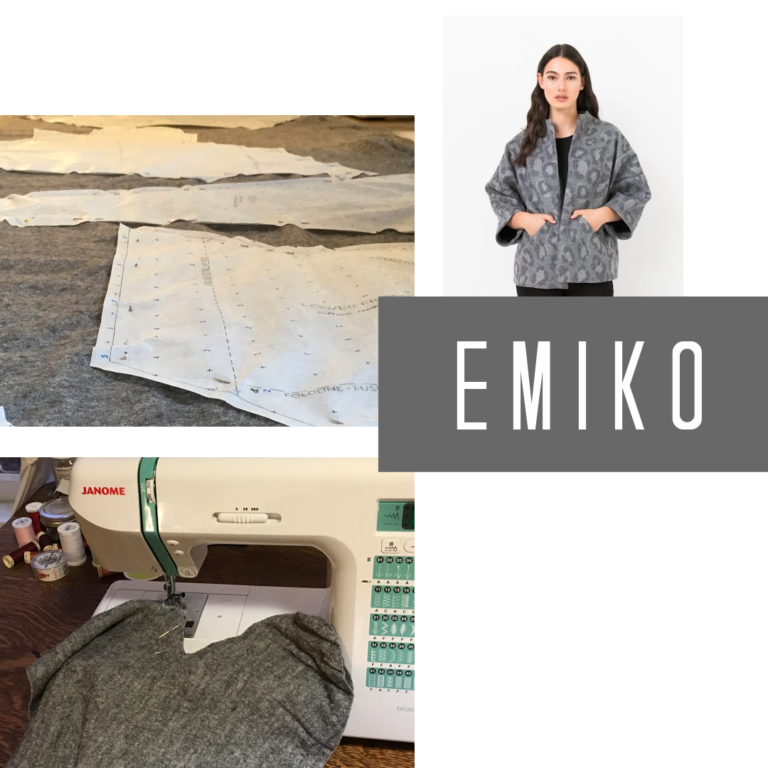
Emiko is making progress on her Sapporo coat, and started the process by tracing the pattern in her size on to tracing paper (we love Swedish Tracing Paper and Create-A-Pattern). Here she is sewing an interesting curved seam to form the coat’s cozy pocket bag.

Jennifer says: “I decided to try Hong Kong seams for my Friday Patterns Cambria Duster, although this fabric doesn’t really need to have its seams finished… it looks great as is. I bought some viscose jersey bias tape in a variety of colors and was planning to make multicolor bound edges for a patchwork effect. I also bought this awesome Japanese fabric and plan to do something special to incorporate it into my duster and add a touch of whimsy. So excited to finish this and wear it now that the weather is getting cooler!”
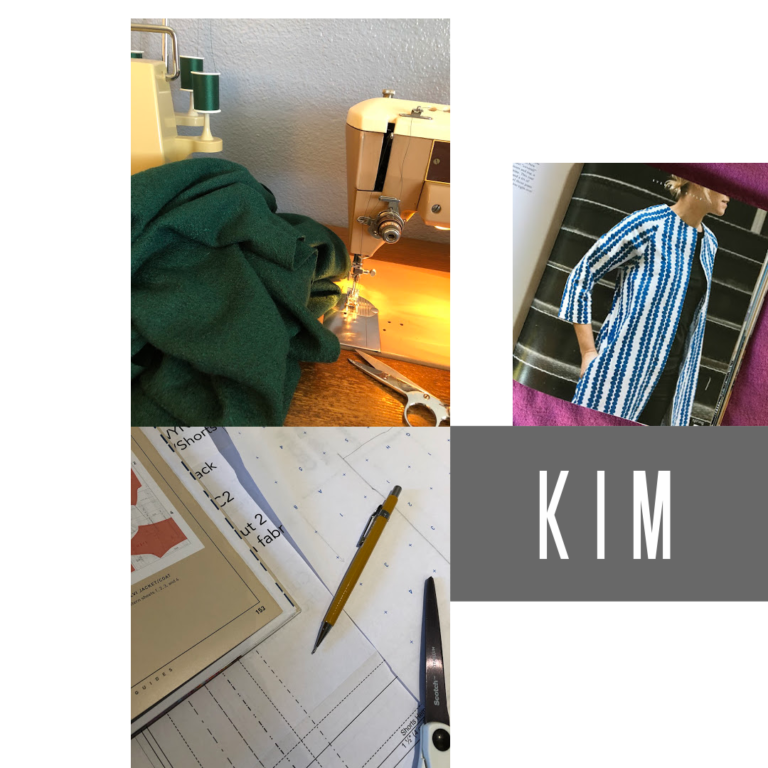
Kim has found the Pilvi Coat (from Everyday Style by Lotta Jansdotter) to be a straightforward, quick, and enjoyable sewing project. To reduce bulk, she is using her serger for all of the seams and is using quilting cotton for the in-seam pockets. Since there are very few visual details on the coat, she has decided to topstitch the raglan seams and is going to wear it styled with one of her favorite autumn pins.

Käthe (with help from Tina Fey the cat, pictured above) has been embracing the challenge of creating her Opium coat: “I did a ton of research and ended up winging it using a little of a lot of info. I used lightweight poplin as the interfacing, had to sew it in (because you KNOW how I feel about fusible). Kind of a free form slant stitch/padding stitch on the front lapels, with a twill tape for the roll line, cause I’m hard core old school. Haven’t done a welt pocket for years and years and never in a heavy/thick fabric so imagine my surprise when IT ACTUALLY WORKED!!! This gives me hope for the whole coat. I’m using a Nani Iro cotton sateen for the lining, it’s so beautiful and slippery enough, I hope. Excited to finish and wear it!”
.

Lark says: “So far I have really enjoyed working with the wool/viscose, the fabric has a lovely soft hand and drape that is working well with the angular design lines of the Azara skirt. I am making version A of the skirt and have chosen some beautiful natural shell buttons.”

Linden is all about the beautiful saturated colors in their Opium coat: “I’ve been enjoying just how deep and rich the dye appears in this fabric. It feels luxurious. I’m very happy with how the origami welt pockets turned out despite how bulky the fabric is. I have also added contrast piping to highlight the welt detail. This will be included around the edge and hem of the garment as well.”

Marissa is using the new extended size range of the Closet Core Sienna pattern for a better fit (the new 14-30 size range is drafted for a D cup). How to transform a chore jacket pattern into a biker jacket? Crop view A just below waist, and shorten the sleeves so they won’t need to be cuffed. Enlarge the lapel slightly for a more biker-jacket look, still deciding on closures. Kai Scissors make cutting the wool/viscose a total dream!

Patty has made some great progress on her Decades of Style Parisienne Coat! She added two inches to the pattern length and practiced sewing the pattern’s pintucks on a scrap of wool/viscose to make sure she had the technique down before moving on to her pattern pieces. Next came some questions: Which button to use? Which rayon challis remnants to make into bias tape for the seams? And how best to create a rouleau loop in this bulky fabric? Patty tried a few tools for the rouleau: pointy scissors, a blunt needle, a loop turner, and a chopstick.
Thanks to our staff for sharing their Boiled Wool/Viscose garment process! Stay tuned for next week’s wrap-up post to see everyone wearing their finished garments.